
Graham Wafers
Submitted by tracykiraly
These homemade graham wafers are crisp, lightly sweet, and perfect for snacking, crushing into crumbs for pie crusts, or pairing with spreads. Made with wholesome graham flour and a touch of vanilla, they bake up golden and delicious in just minutes.
YIELD
24 servingsPREP
15 minCOOK
12 minREADY
35 min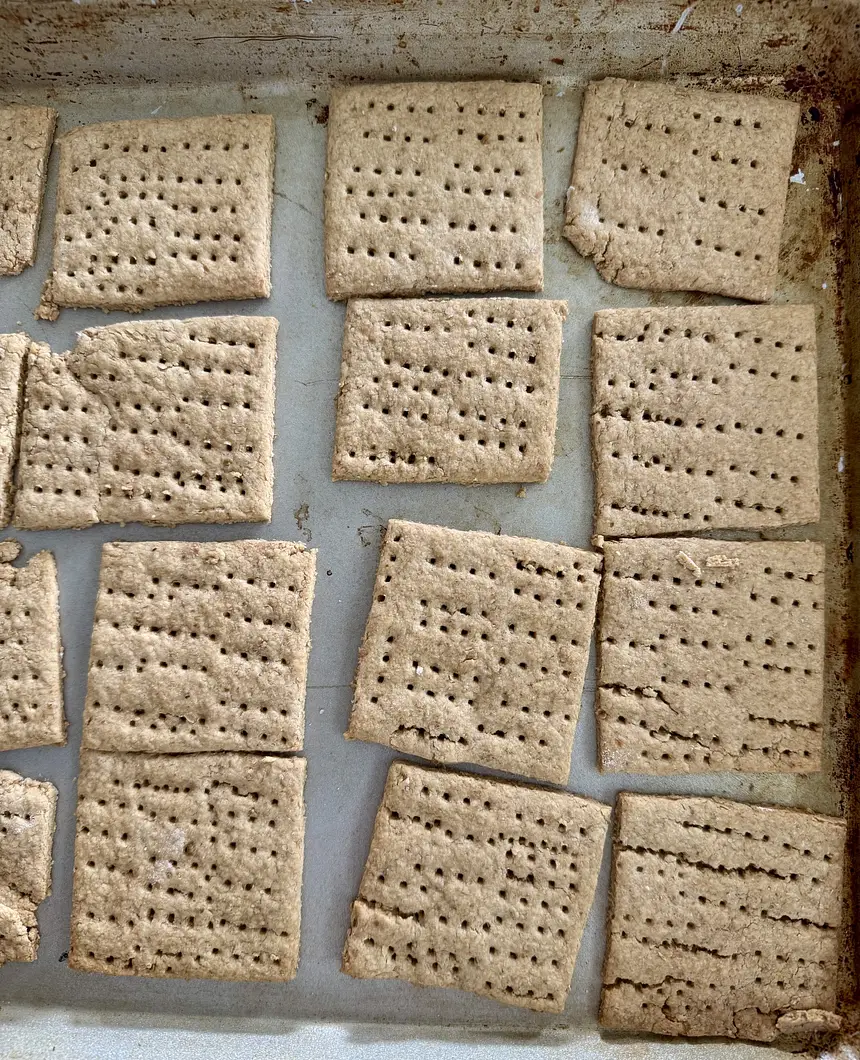
Chef Tips
- Butter vs. Margarine: Using butter instead of margarine adds a richer flavor. Ensure it’s softened (not melted) for proper creaming.
- Rolling Thin: The thinner the dough, the crisper the wafers. Aim for paper-thin consistency, but don’t tear the dough. If it’s too thick, the wafers may be chewy.
- Milk Temperature: Room-temperature milk blends better. Cold milk can cause the dough to seize slightly.
- Avoid Overbaking: Check at 10 minutes, as ovens vary. The wafers firm up as they cool, so don’t wait for them to feel fully crisp in the oven.
- Storage: Keep in an airtight container to maintain crispness. If they soften, re-crisp in a 300°F oven for 5 minutes.
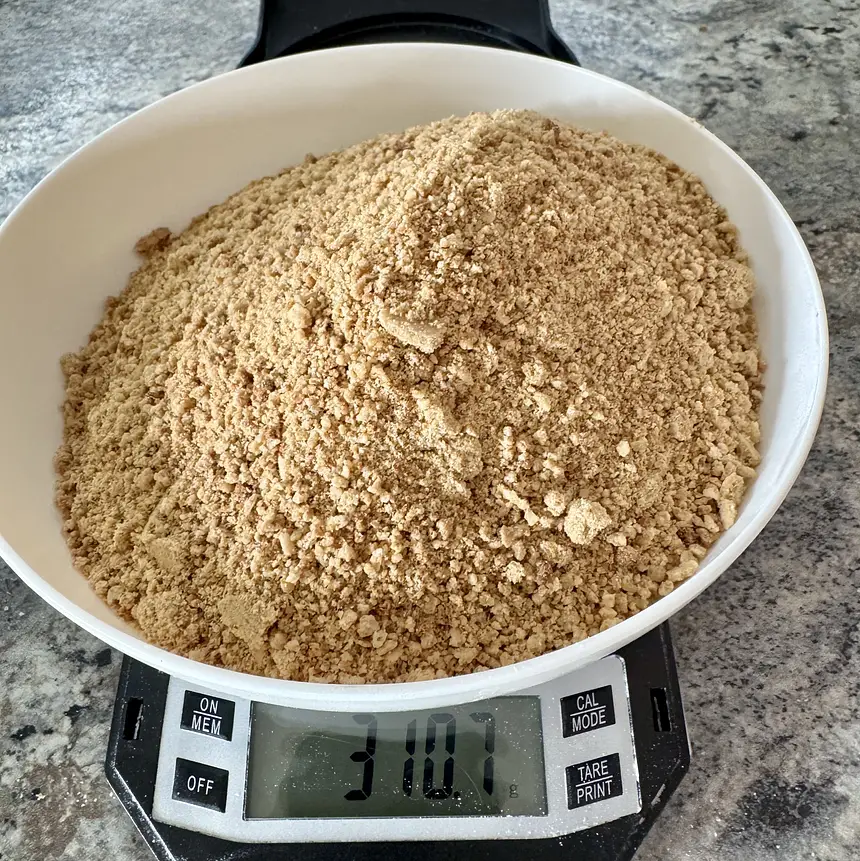
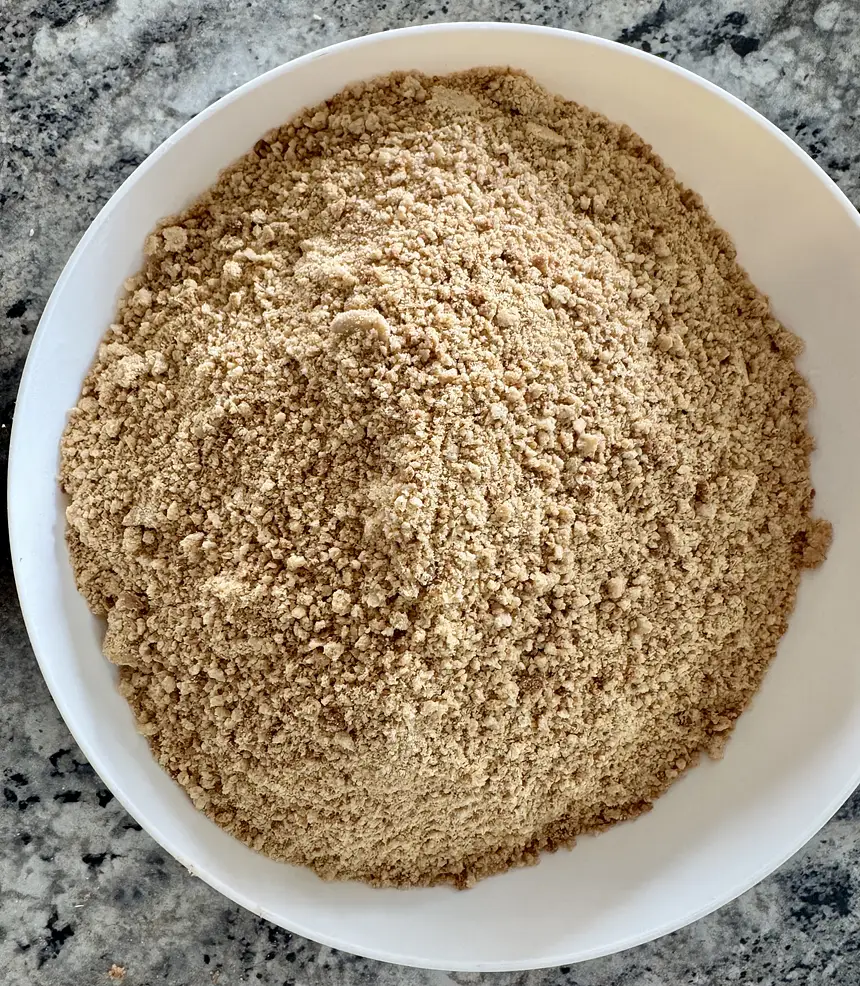
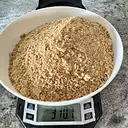
Yields: 11 ounces or 310 grams of wafer crumbs
Optional Variations
- Cinnamon Graham Wafers: Add ½ teaspoon ground cinnamon to the dry ingredients for a warm, spiced flavor.
- Honey Graham Wafers: Replace 2 tablespoons of sugar with 2 tablespoons of honey for a subtle honey taste. Reduce milk by 1 teaspoon to adjust for extra moisture.
- Chocolate-Dipped Wafers: Melt ½ cup dark chocolate and dip half of each cooled wafer. Let set on parchment paper for a decadent treat.
- Gluten-Free Option: Substitute graham flour and all-purpose flour with a 1:1 gluten-free flour blend, but results may vary in texture.
Potential Pitfalls and How to Avoid
- Dough Too Sticky: If the dough sticks while rolling, sprinkle a tiny amount of flour on the surface and rolling pin. Don’t over-flour, as it can make the wafers tough.
- Uneven Baking: Ensure the dough is rolled to an even thickness. Uneven dough leads to some wafers burning while others remain soft.
- Wafers Sticking to the Pan: If not using parchment, ensure the baking sheet is clean and ungreased. Transfer wafers to a cooling rack immediately after baking to prevent sticking.
- Soft Wafers: If the wafers aren’t crisp after cooling, they may be too thick or underbaked. Return to a 300°F oven for 5–7 minutes to crisp up.
Ingredients
Directions
- Preheat the Oven: Set your oven to 350°F (180°C). Line baking sheets with parchment paper for easier removal, or use ungreased sheets as the wafers won’t stick.
- Cream the Wet Ingredients: In a medium bowl, use an electric mixer (or whisk by hand) to cream together the softened butter (or margarine), granulated sugar, and vanilla extract until light and fluffy, about 2 minutes. Scrape down the bowl to ensure even mixing.
- Combine Dry Ingredients: In a separate bowl, whisk together the graham flour, all-purpose flour, baking powder, baking soda, and salt.
- Mix the Dough: Gradually add the dry ingredients to the creamed mixture. Beat on low speed or stir with a wooden spoon until the mixture looks crumbly, resembling coarse sand. Slowly pour in the milk and mix until a soft dough forms. The dough should be slightly sticky but manageable.
- Roll Out the Dough: Lightly flour a clean surface. Roll the dough out to about 1/16-inch thickness (as thin as possible without tearing). Use a rolling pin and sprinkle a little flour if the dough sticks. A ruler can help gauge even thickness.
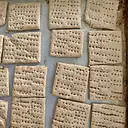
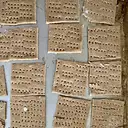
- Cut into Squares: Using a sharp knife or pizza cutter and a ruler for precision, cut the dough into 2½-inch squares. Transfer the squares to the prepared baking sheets. The wafers won’t spread, so they can be placed close together.
- Prick for Texture: Use a fork to prick each square evenly (3–4 pricks per wafer) to prevent puffing and create the classic graham cracker look.
- Bake: Bake for 10–12 minutes, or until the edges are lightly golden brown. Rotate the baking sheets halfway through for even baking. Watch closely to avoid overbrowning.
- Cool and Store: Remove the wafers from the baking sheets immediately using a spatula, as they crisp up as they cool. Place on a wire rack to cool completely. Store in an airtight container for up to 1 week.
Make your own graham wafter crumbs from scratch and save
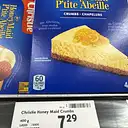
At my local grocery store, using seed oil shortening: 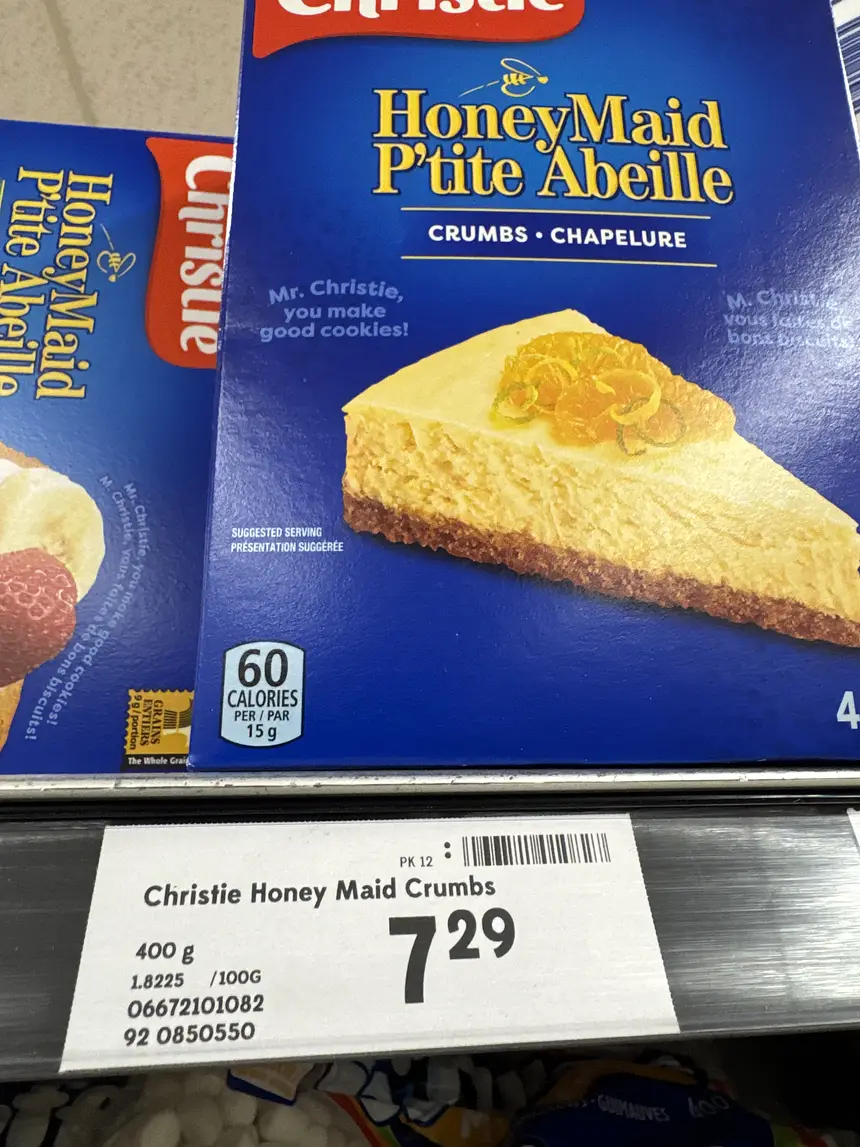
Or Homemade using butter for about $1
Comments


